
3 posts tagged with "cabintop"

View All Tags

Cabin Top Riveted

· 2 min read

Have been delaying this step for a long time now since I wanted to get as much done as possible in the tailcone before closing everything up. However, finally realized there would always be more to do. I got the ELT installed, NACA vents cut and installed, and then proceeded to close and rivet up the tailcone and cabintop. In the future, I'm still planning on installing the transponder and #2 COM radio there, and at least one battery will need to go back there. But that's future me's problem. Build on!

Panel Installation

In the same vein, starting to install the panel today. I had the panel built by Pacific Coast Avionics, using an Aerosport 310 Panel and it was delivered a month or so back.
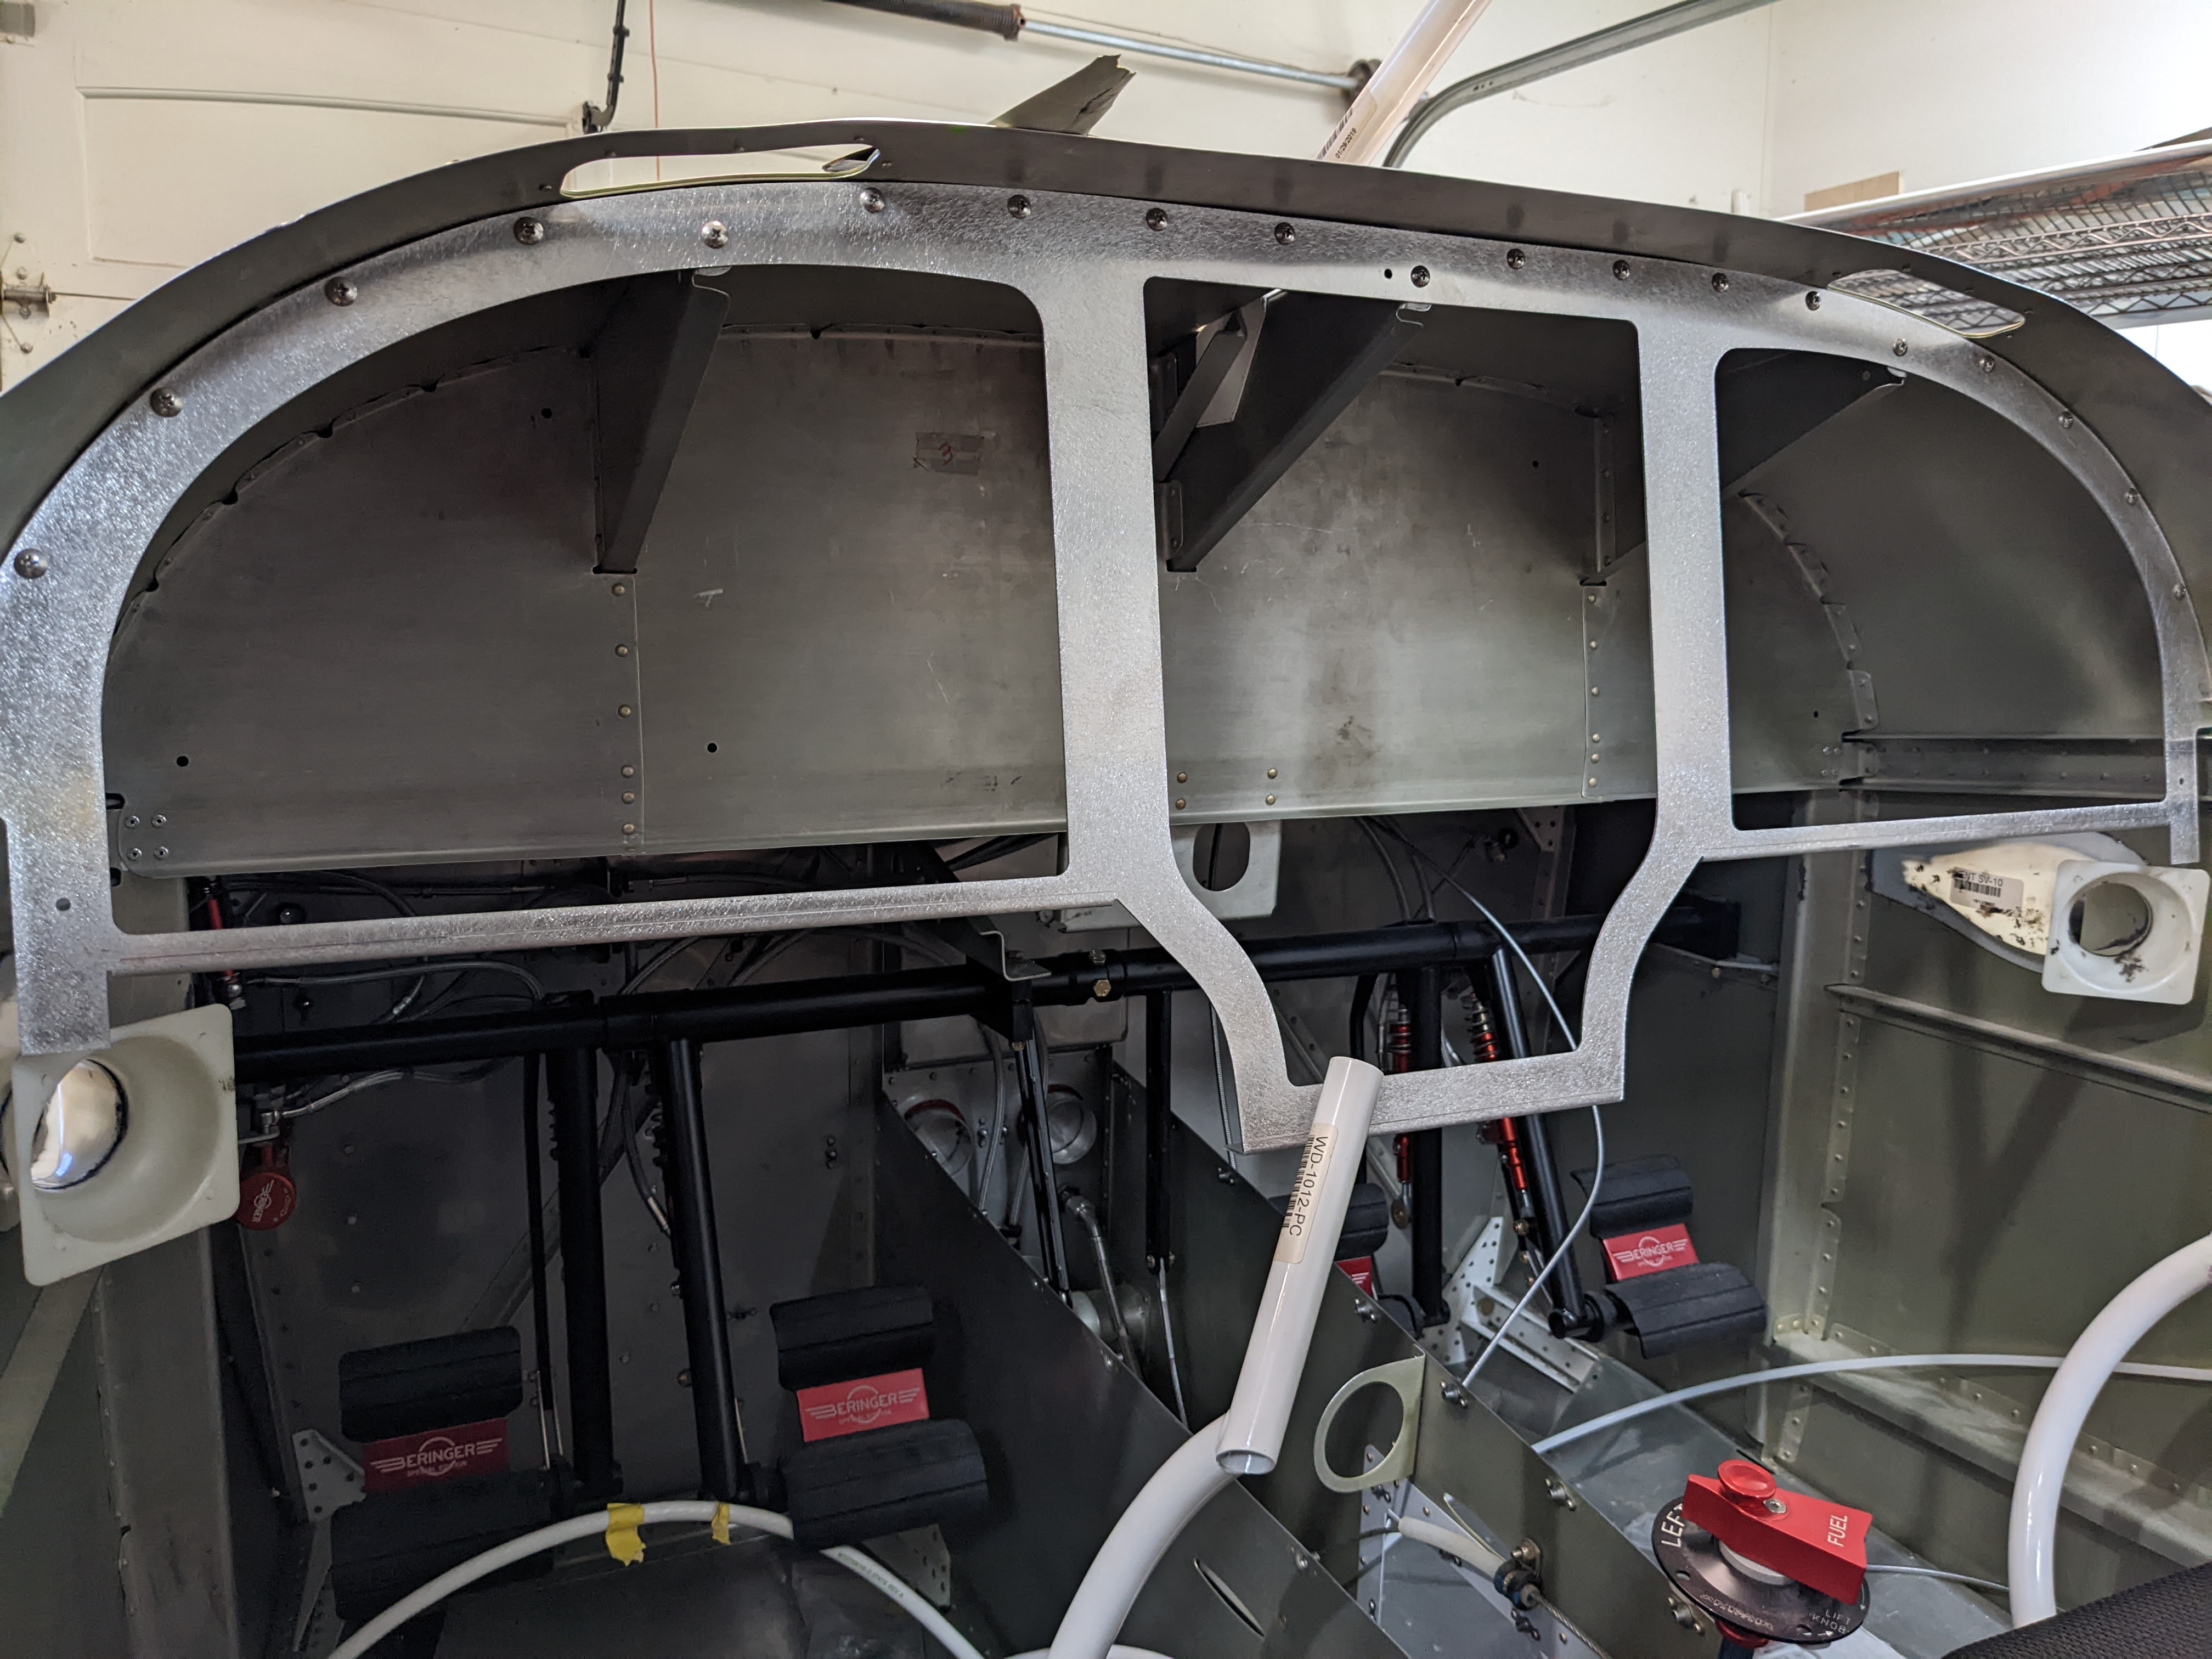
All I did this weekend was to mount the aluminum panel subframe onto the fuselage. The instructions from Aerosport are unfortunately wrong for the product I received.

Instead, you'll notice the aluminum frame already has a hole drilled around this location. If you cut per the instructions, you can't capture this hole and you'll need to file away half of the height to actually fit behind the frame. Instead, cut straight from the top of the F-1003B bottom brace and include the nutplate already in place like this You can see the pre-drilled holes in place on the frame.

Doors & Cabintop

· 2 min read

The past few months have been spent wrapping up a lot of minor details and working on the doors/cabintop interface. Lots of work here and a significant amount has been deviating from the plans.

Here's the order I planned on for this part:

  1. Rough fit cabin top to fuselage done
  2. Build Doors and fit doors to opening done
  3. Fit overhead console done
  4. Permanently attach overhead console and switch pod working
  5. Install Airward Door Reinforcement
  6. Permanently install Cabin Top
  7. Install doors & door hardware
  8. Build lip for McMaster Carr Door Seals
  9. Install Windows & Windshield

With that said, a couple of notes. If I wanted to do over, I probably wouldn't buy and install the Airward door reinforcement kit. Nothing against the kit, it looks well made and sturdy. However, any deviation from plans costs time and money, and I'm not sure the risk of the door departing the aircraft, especially after the Planearound 3rd Latch solves the inflight issue, justifies the cost and extra time.

The doors are the one part so far where the plans are lacking. The location of the mounting holes for example are just straight up not where the plans said they would be. Use your best judgement and try your best to get it aligned. Nice thing with fiberglass is it's very hard to screw up enough to not be able to repair it.

I used a lot of other builders notes in this section to map out what I wanted to do. This thread was helpful keeping the door located in the correct position: https://vansairforce.net/community/showthread.php?t=175416

Tim's post here was helpful figuring out how to transition the overhead and switchpod to the cabin top.

Avionics

Went to Sun'n'Fun this year because I now need to seriously consider avionics. Will most likely go with some version of a G3X system, as the garmin interface just felt better to me. So Garmin system + EarthX batteries and maybe Mountain High Oxygen System is the purchases I'll need to make in the next few months.

Last Kit

· 3 min read

Placed an order for the finish kit, which is the last big kit. Doesn't really feel like close to finishing, probably because of all the off-plans stuff that still needs to be done. Vans has a 14 week lead time on the finish kit, so the months between now and September is probably where we're going to really flesh out the fuselage and finish up the wings.

#Fuselage update Waiting on a whole bunch of stuff like the Beringer kit and Control Approach pedals and an extension for the FS2020 fuel valve so that's all on hold. Skipped ahead and finished the rear seat backs, which did require reordering some angles...who knew moving meant losing stuff in the shuffle?

Essentially the fuselage shell is complete, rear floors riveted in and seat backs done. So at this point we just kept moving forward and started on the cabin top. #Cabin Top This is really the first piece of fiberglass I've worked with, as I still haven't gotten around to working on Section 12. I'm actually alternating between this and Section 11 right now, but I'll stick that into a separate post. There's a lot of sanding that needs to be done. I started out following instructions and sanding to the scribe lines, then test fit the cabin top, measured, and realized I basically had to sand off the entire flange. Makes the scribe lines kind of useless. Follow them in the back and in the front, but the rear window area and below needs 3/4" all around, and the door lips should be sanded to fit a 37" front to back opening, which is almost all of the material. You'll have a pretty thin section left to actually get to cabin top to fit.

I used a belt sander for the most port, a palm sander for some areas and a deburring wheel on a pneumatic die grinder to finish it off. The deburring wheel was probably a mistake, should use a sanding wheel instead as I've ruined 2 deburring wheels going through fiberglass. I also had to buy gloves and coveralls for personal protection and plastic sheets to protect everything else, this stuff really gets everywhere. Not looking forward to the doors at all....

Still not done with this either, still need to sand the door opening down so the lip will rest on the skin, but as the picture shows, at least it fits now!